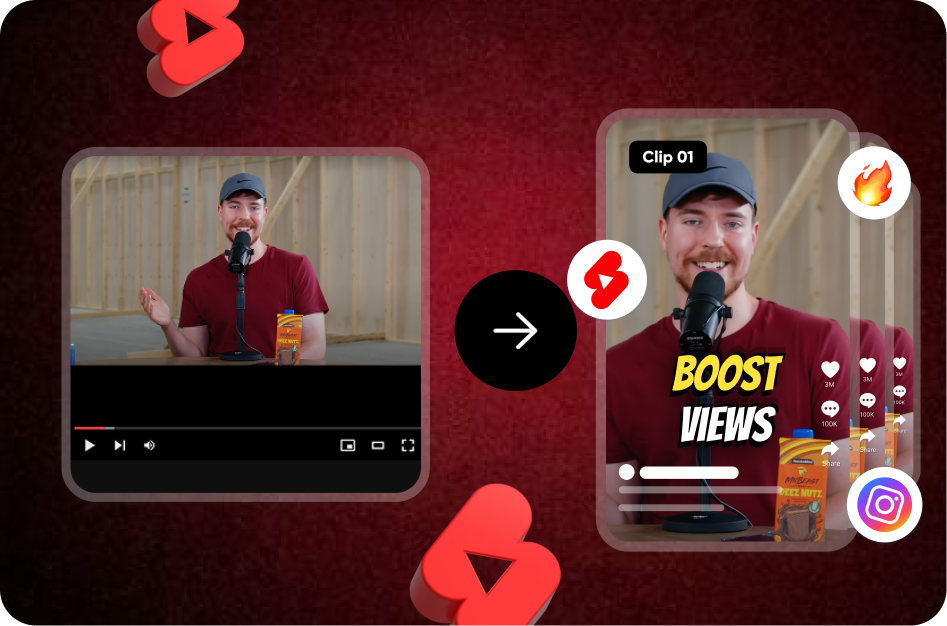


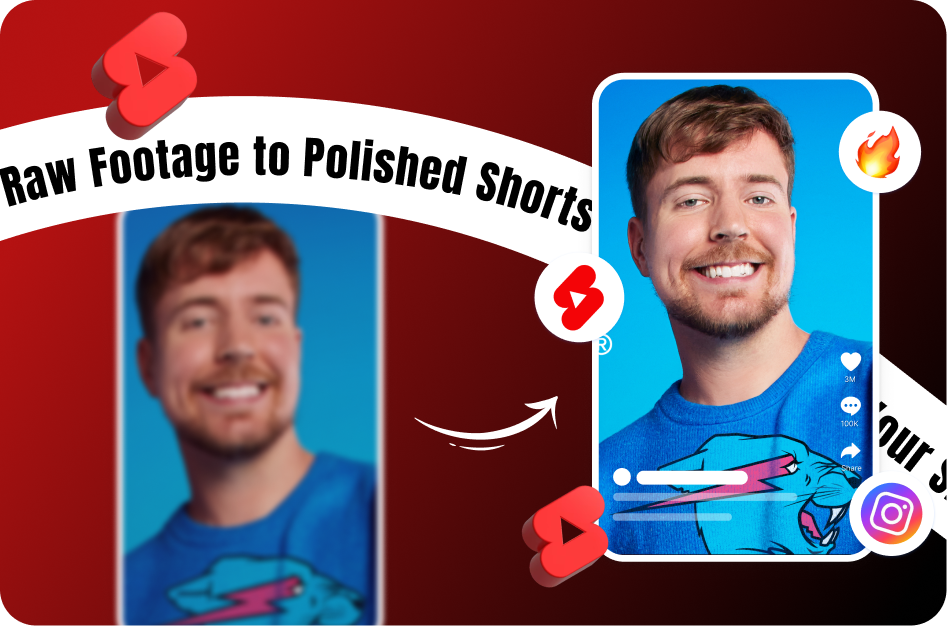
Creating viral YouTube Shorts requires more than just good content. A streamlined workflow ensures that your videos are produced efficiently, consistently, and at the highest possible quality. Here's a step-by-step workflow to go from raw footage to a polished, optimized Short.
1. Plan Your Shot
Even though Shorts are under 60 seconds, having a quick script or storyboard helps maintain focus and structure. Think of a clear hook, body, and CTA (Call-to-Action).
Long-tail keywords: YouTube Shorts content planning, script for YouTube Shorts
2. Record Vertical
Always shoot in portrait mode (9:16). Use a tripod or gimbal to stabilize footage. Record multiple takes to have options during editing.
Tools: Smartphone camera, DJI Osmo Mobile, GoPro in vertical mode
Tip: Clean background, good lighting, and clear audio capture improve your content from the start.
3. Import Footage into an Editor
Choose an editing app that supports vertical projects:
- Mobile: CapCut, VN, InShot
- Desktop: Premiere Pro, Final Cut, Premiere Rush
Create a 1080x1920 project timeline to fit YouTube Shorts format.
Keyword: import vertical video for YouTube Shorts
4. Make a Rough Cut
Trim out errors, pauses, or unnecessary segments. Arrange your clips chronologically or based on your storyboard.
Tip: Keep momentum - each second should add value.
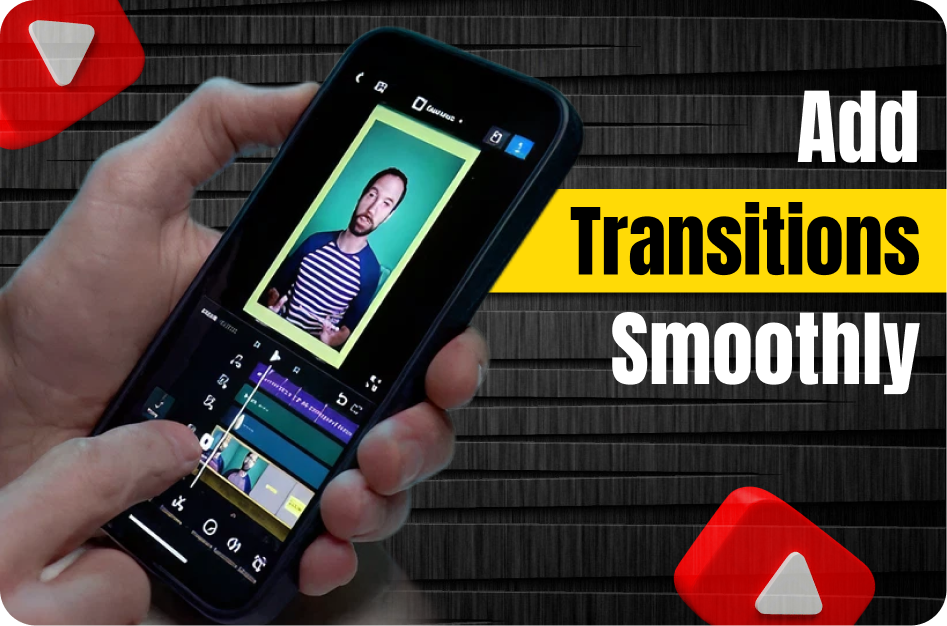
5. Add Transitions and Visual Effects
- Add smooth transitions between clips
- Use zoom-in/zoom-out for emphasis
- Insert filters, speed ramps, or B-roll where needed
Tool Highlight: CapCut templates for transitions
Keyword: best transitions for YouTube Shorts
6. Add Audio Layer
- Background music (use YouTube’s royalty-free tracks or CapCut’s library)
- Narration or voice-over for explanation
- Sync beats with visuals for impact
Ensure: Music doesn’t overpower voice; use audio ducking if needed.
Keyword: add music to YouTube Shorts
7. Generate and Style Captions
Use CapsAI.co to auto-generate captions. It detects speech, transcribes it, and outputs subtitles.
- Edit for accuracy
- Style them for readability (big fonts, bold colors)
- Position them away from Instagram/YouTube overlays
Keyword: auto-generate captions for YouTube Shorts
8. Add Branding Elements
- Insert your logo as a watermark (bottom-right corner)
- Include a call-to-action screen ("Subscribe for more")
Tip: Consistent branding builds recognition.
Keyword: branding YouTube Shorts
9. Export Your Short
Export settings:
- Format: MP4
- Resolution: 1080x1920
- Duration: < 60 seconds
- Frame rate: 30fps or 60fps
Keyword: export settings for YouTube Shorts
10. Upload & Optimize on YouTube
- Title: Use keyword-rich, descriptive titles
- Description: Add a 1-line hook + relevant tags
- Hashtags: #Shorts + niche-specific (#fitnessshorts, #learnin60)
- Thumbnail: Upload a custom one if possible (especially for web viewers)
Tip: Upload multiple Shorts in one batch session to stay consistent
Keyword: optimize YouTube Shorts upload
Final Tip: Batch Editing for Efficiency
Instead of editing one Short at a time, do batch editing:
- Script 3-5 videos at once
- Record in one go
- Edit all in one session
This improves output without sacrificing quality.
Tool Mention: CapsAI.co - Auto subtitles, multilingual support, and caption styling for Shorts.
Related Searches:
- how to create YouTube Shorts from mobile
- YouTube Shorts editing workflow for beginners
- best apps to edit YouTube Shorts 2026